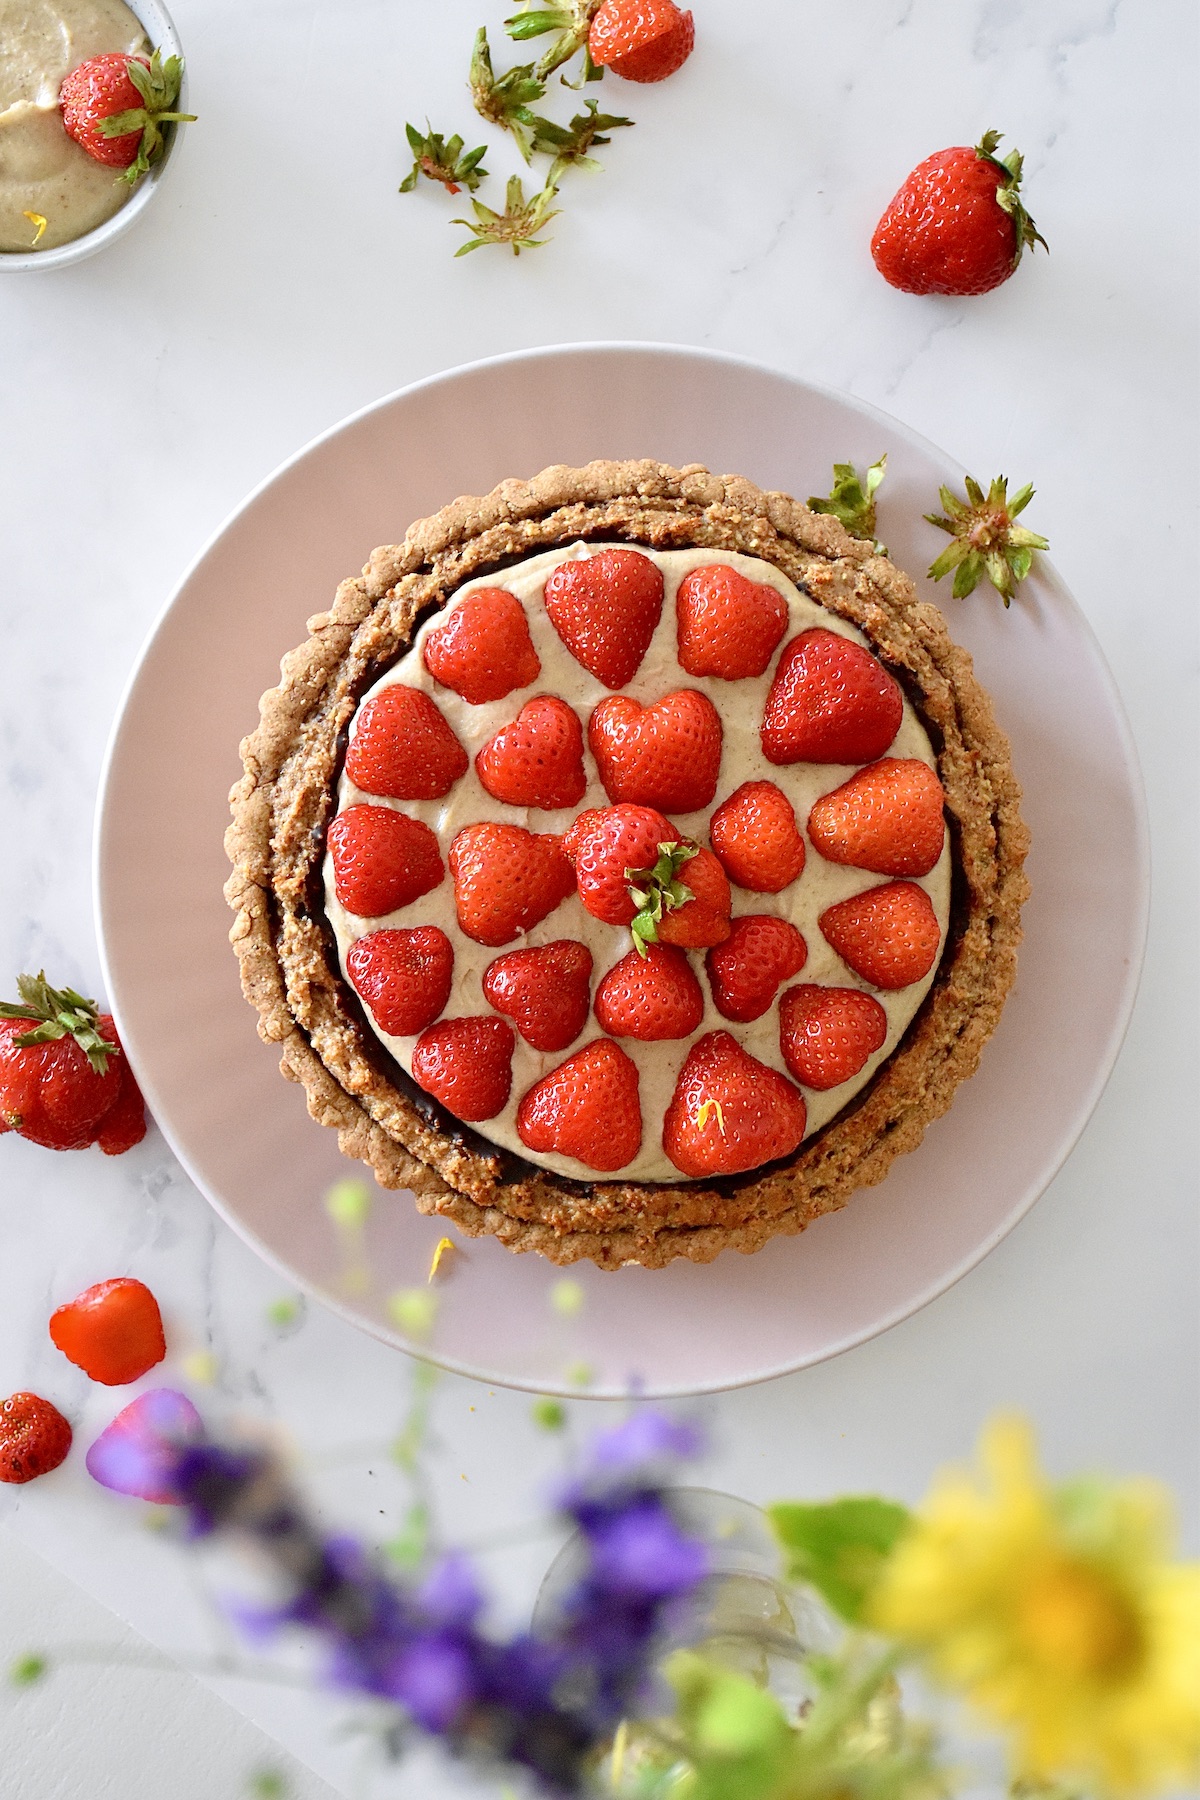
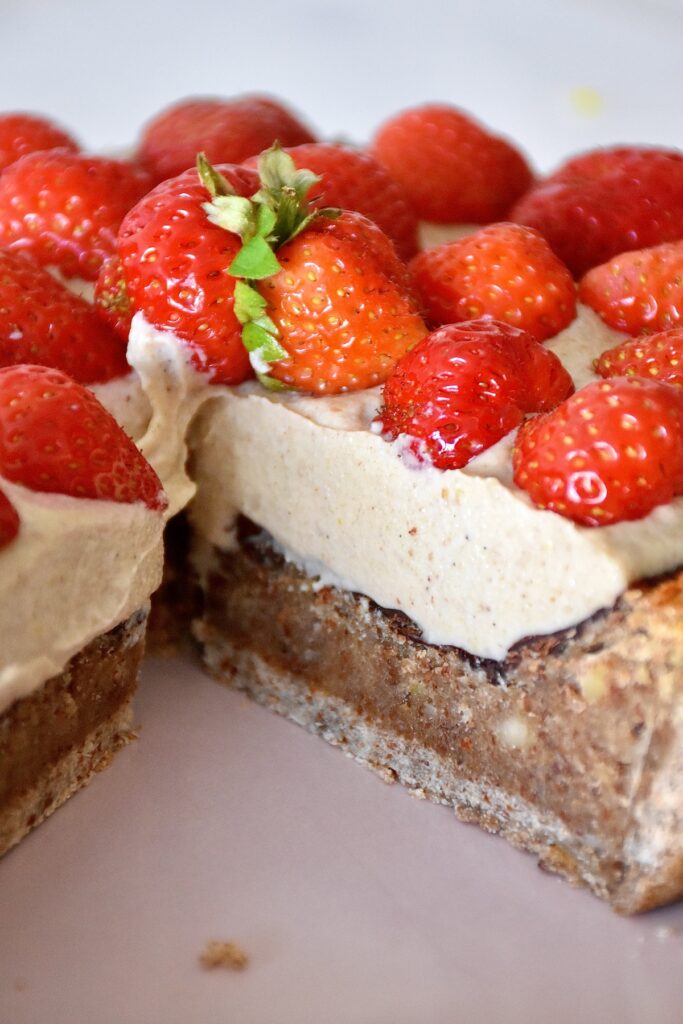
Summer aka strawberry season is here and what better way to have strawberries than in this Vegan Danish Strawberry Tart – “Jordbærtærte”?! I promise the effort is worth it! It does involve a few steps to create the tart the traditional way. Especially when you choose wholesome ingredients and make it all from scratch, but it is so delicious that you cannot resist a second serving.
The recipe requires a few steps, so I decided to write down each step thoroughly and ALSO take photos for you to see the process. I hope this will help you along the way. Let me know how you go with it and whether you loved it as much as I do.
Step by step guide with photos
Step 1: Initial preparations
· Place the cashews in boiled water to allow them to soak up some of the water while you prepare the rest of the cake.
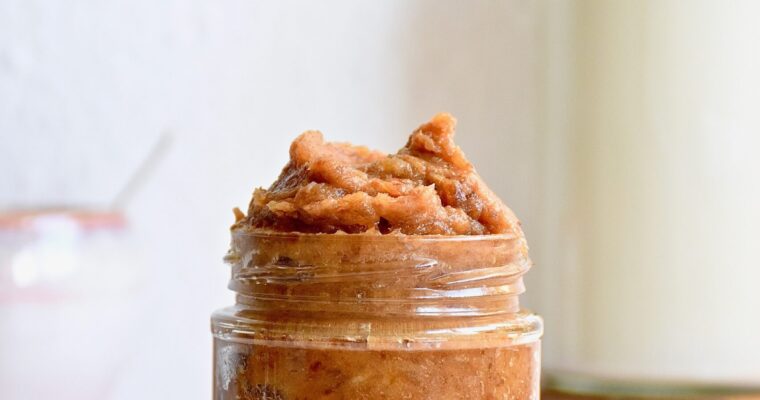
· Make sure you have date purée at hand or follow this recipe. I used about 70 %, so you can make less, if you do not want to have leftover date purée.
· Turn on the oven to 175°C / 350℉.
STEP 2: Short crust pastry
· Start by making the flax egg in a bowl and set aside.
· Meanwhile, mix all the dry ingredients in one bowl and set aside.
· Then add all the wet ingredients to the flax egg and mix until combined.
· Lastly, mix the wet and dry ingredients until a firm pastry has formed. Form into a round shape and use a rolling pin to flatten the pastry. Aim for 26 cm /10.2 inches in diameter.
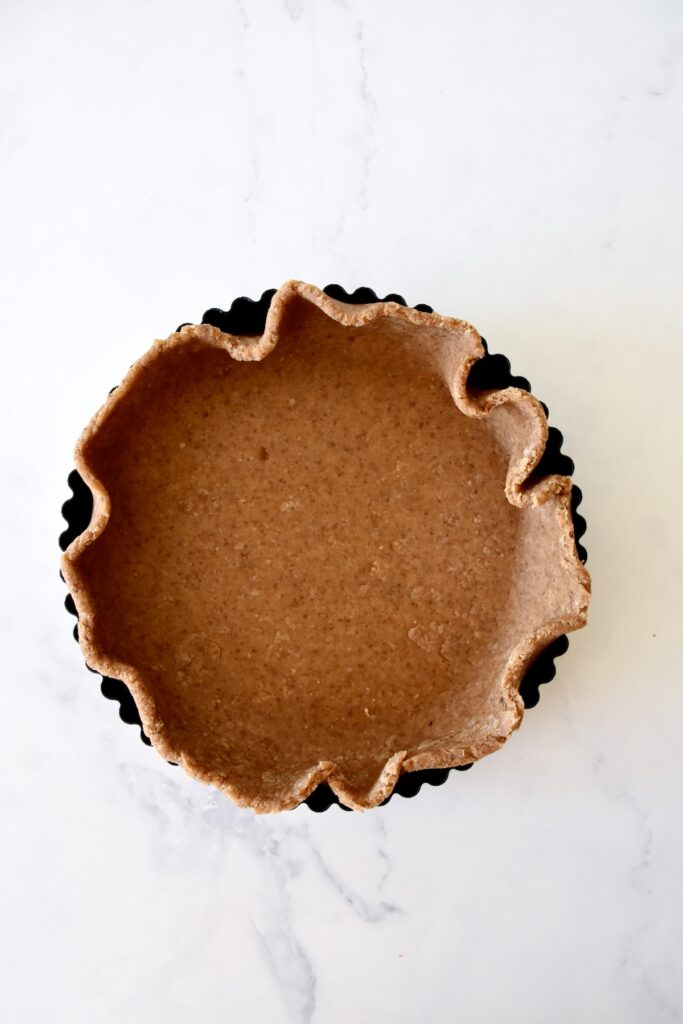
· Place the pastry in the tart form.
· Make sure the pastry crust is pressed into the sloped sides to give it the beautiful shape once baked and finished.
· Let it rest in the fridge while preparing the mazarin layer.
· For the mazarin layer, mix all the wet ingredients in one bowl and dry ingredients in another bowl. Combine both till a thick batter forms.
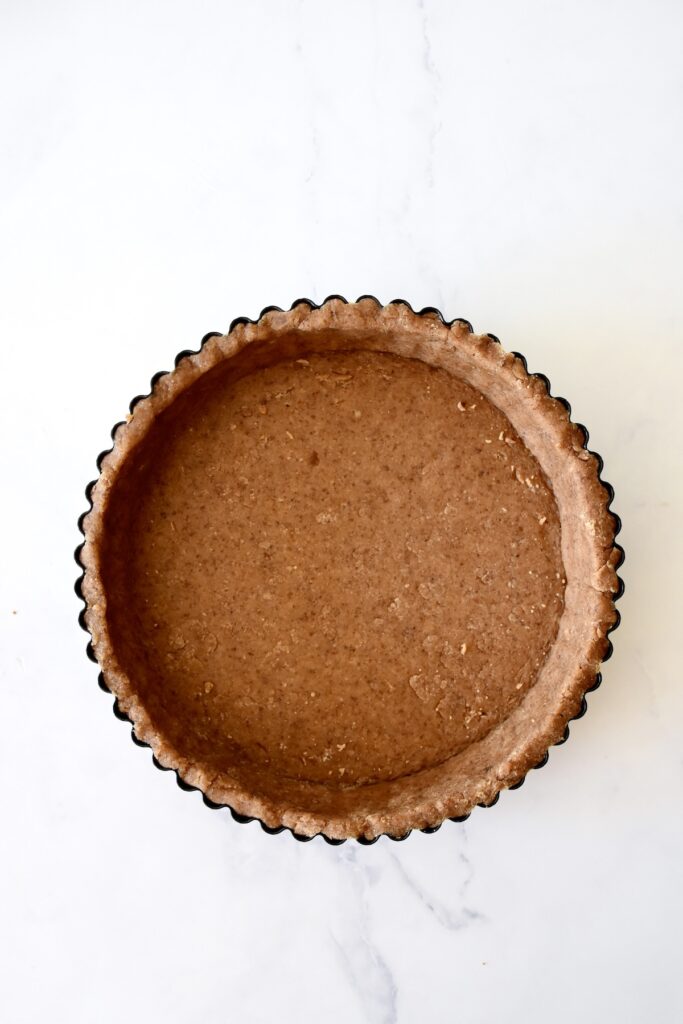
· Add the mazarin batter to the tart form on top of the crust layer. Make sure to spread it out, so it also runs up along the sides, resembling the way the crust is spread out in the form. (This is to create space for the vanilla cream later)
· Bake the tart at 175℃ / 350℉ for 18-20 minutes (or until golden brown). Keep an eye on the tart around the 15 minute mark, as it can depend on your oven.
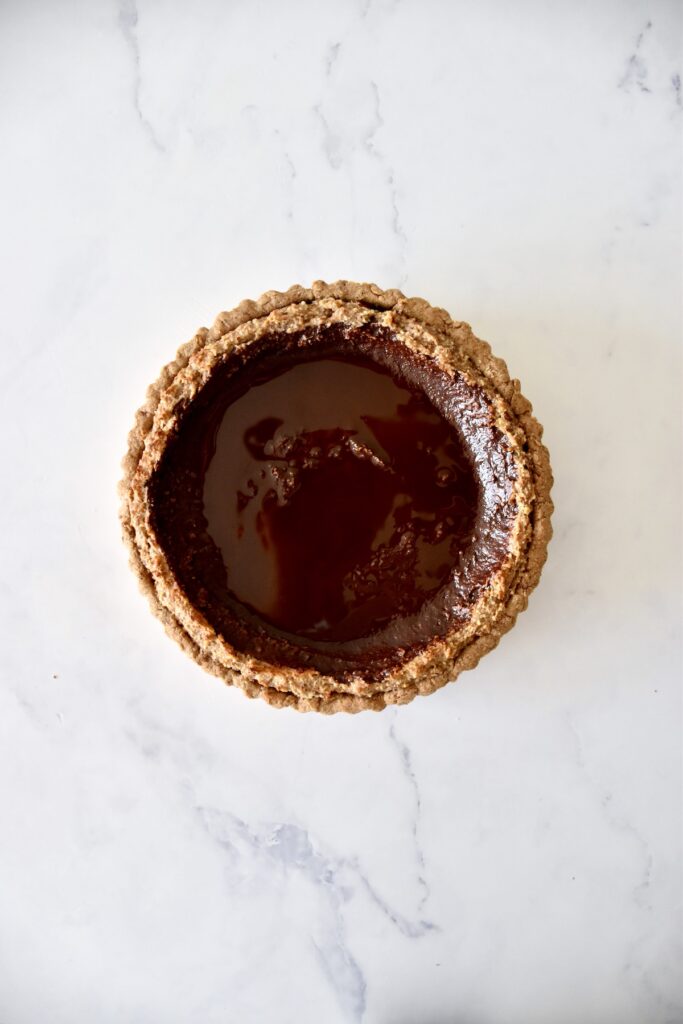
STEP 4: Chocolate layer
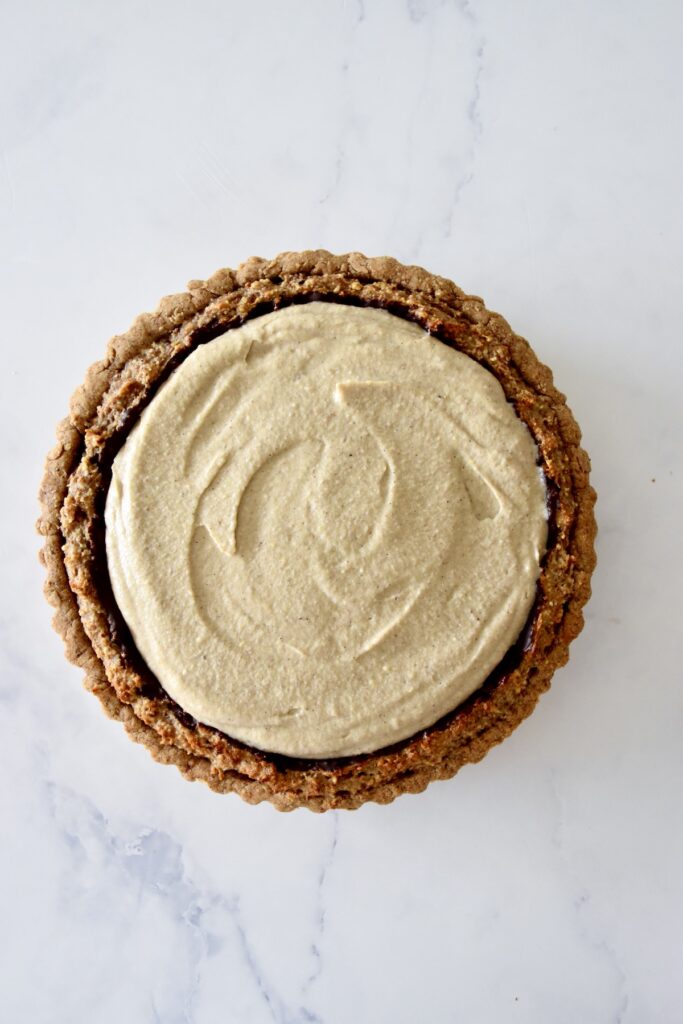
STEP 5: Vanilla cream
· Once the tart has baked, take it out of the tart form and place it on a baking rack to cool off.
· Chop the chocolate and add it on top of the warm tart and allow it to melt. Use a spoon/spatula to even it out if needed.
· Place the cake in the fridge until the chocolate has hardened (20-30 minutes).
· While the cake cools down, prepare the vanilla cream, by adding all ingredients to a high speed blender and blend until smooth. If the cream has become a bit warm from blending, you can place it in the freezer for 10 minutes or add it to the cake and allow the cake to rest in the fridge for about 15 minutes before decorating it with strawberries.
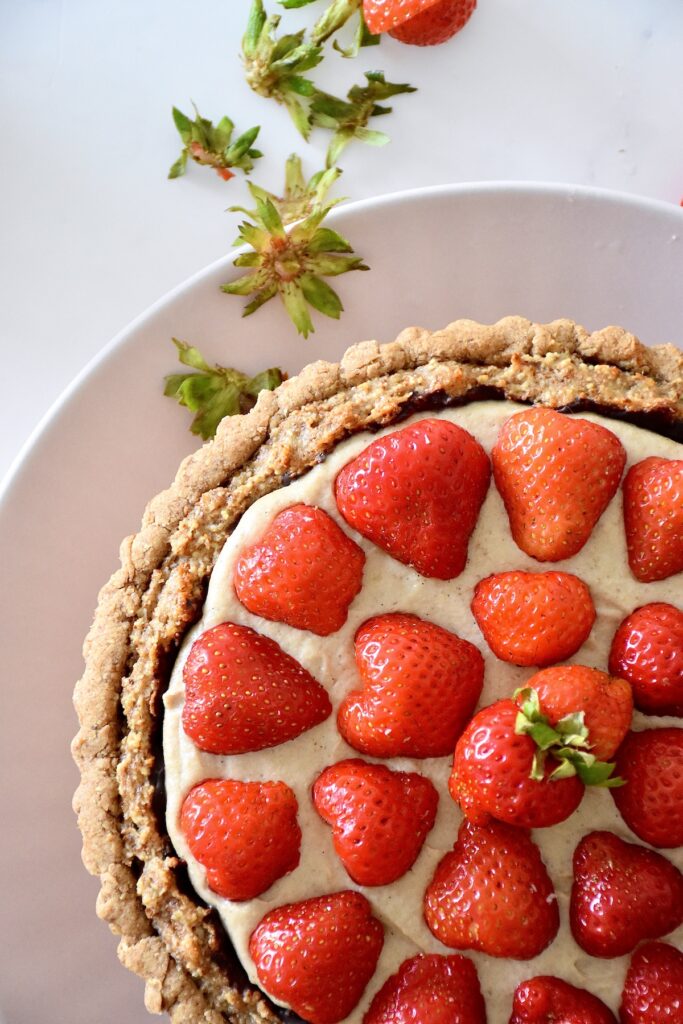
STEP 6: Strawberry layer
· Rinse the strawberries and cut them in halves.
· Decorate with as many as you would like.
Tips for a faster version
If you are short on time the day of serving the cake, there are a few tips for creating it a bit faster.
Instead of soaking and blending cashews, you can substitute it with cashew butter. The same goes for date purée, which now can be bought in many groceries.
The date paste, mazarin layer and vanilla cream can easily be prepared the day before and stored in the fridge.
Once the cake has been baked and chocolate layer added, place the cake in the freezer instead of fridge.
🍓 Enjoy 🍓
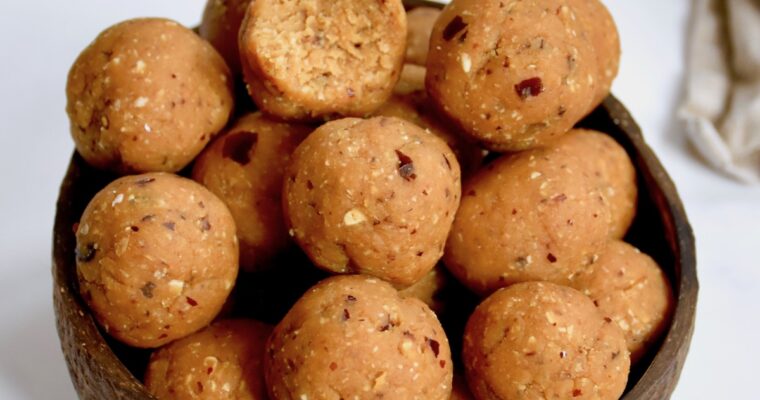
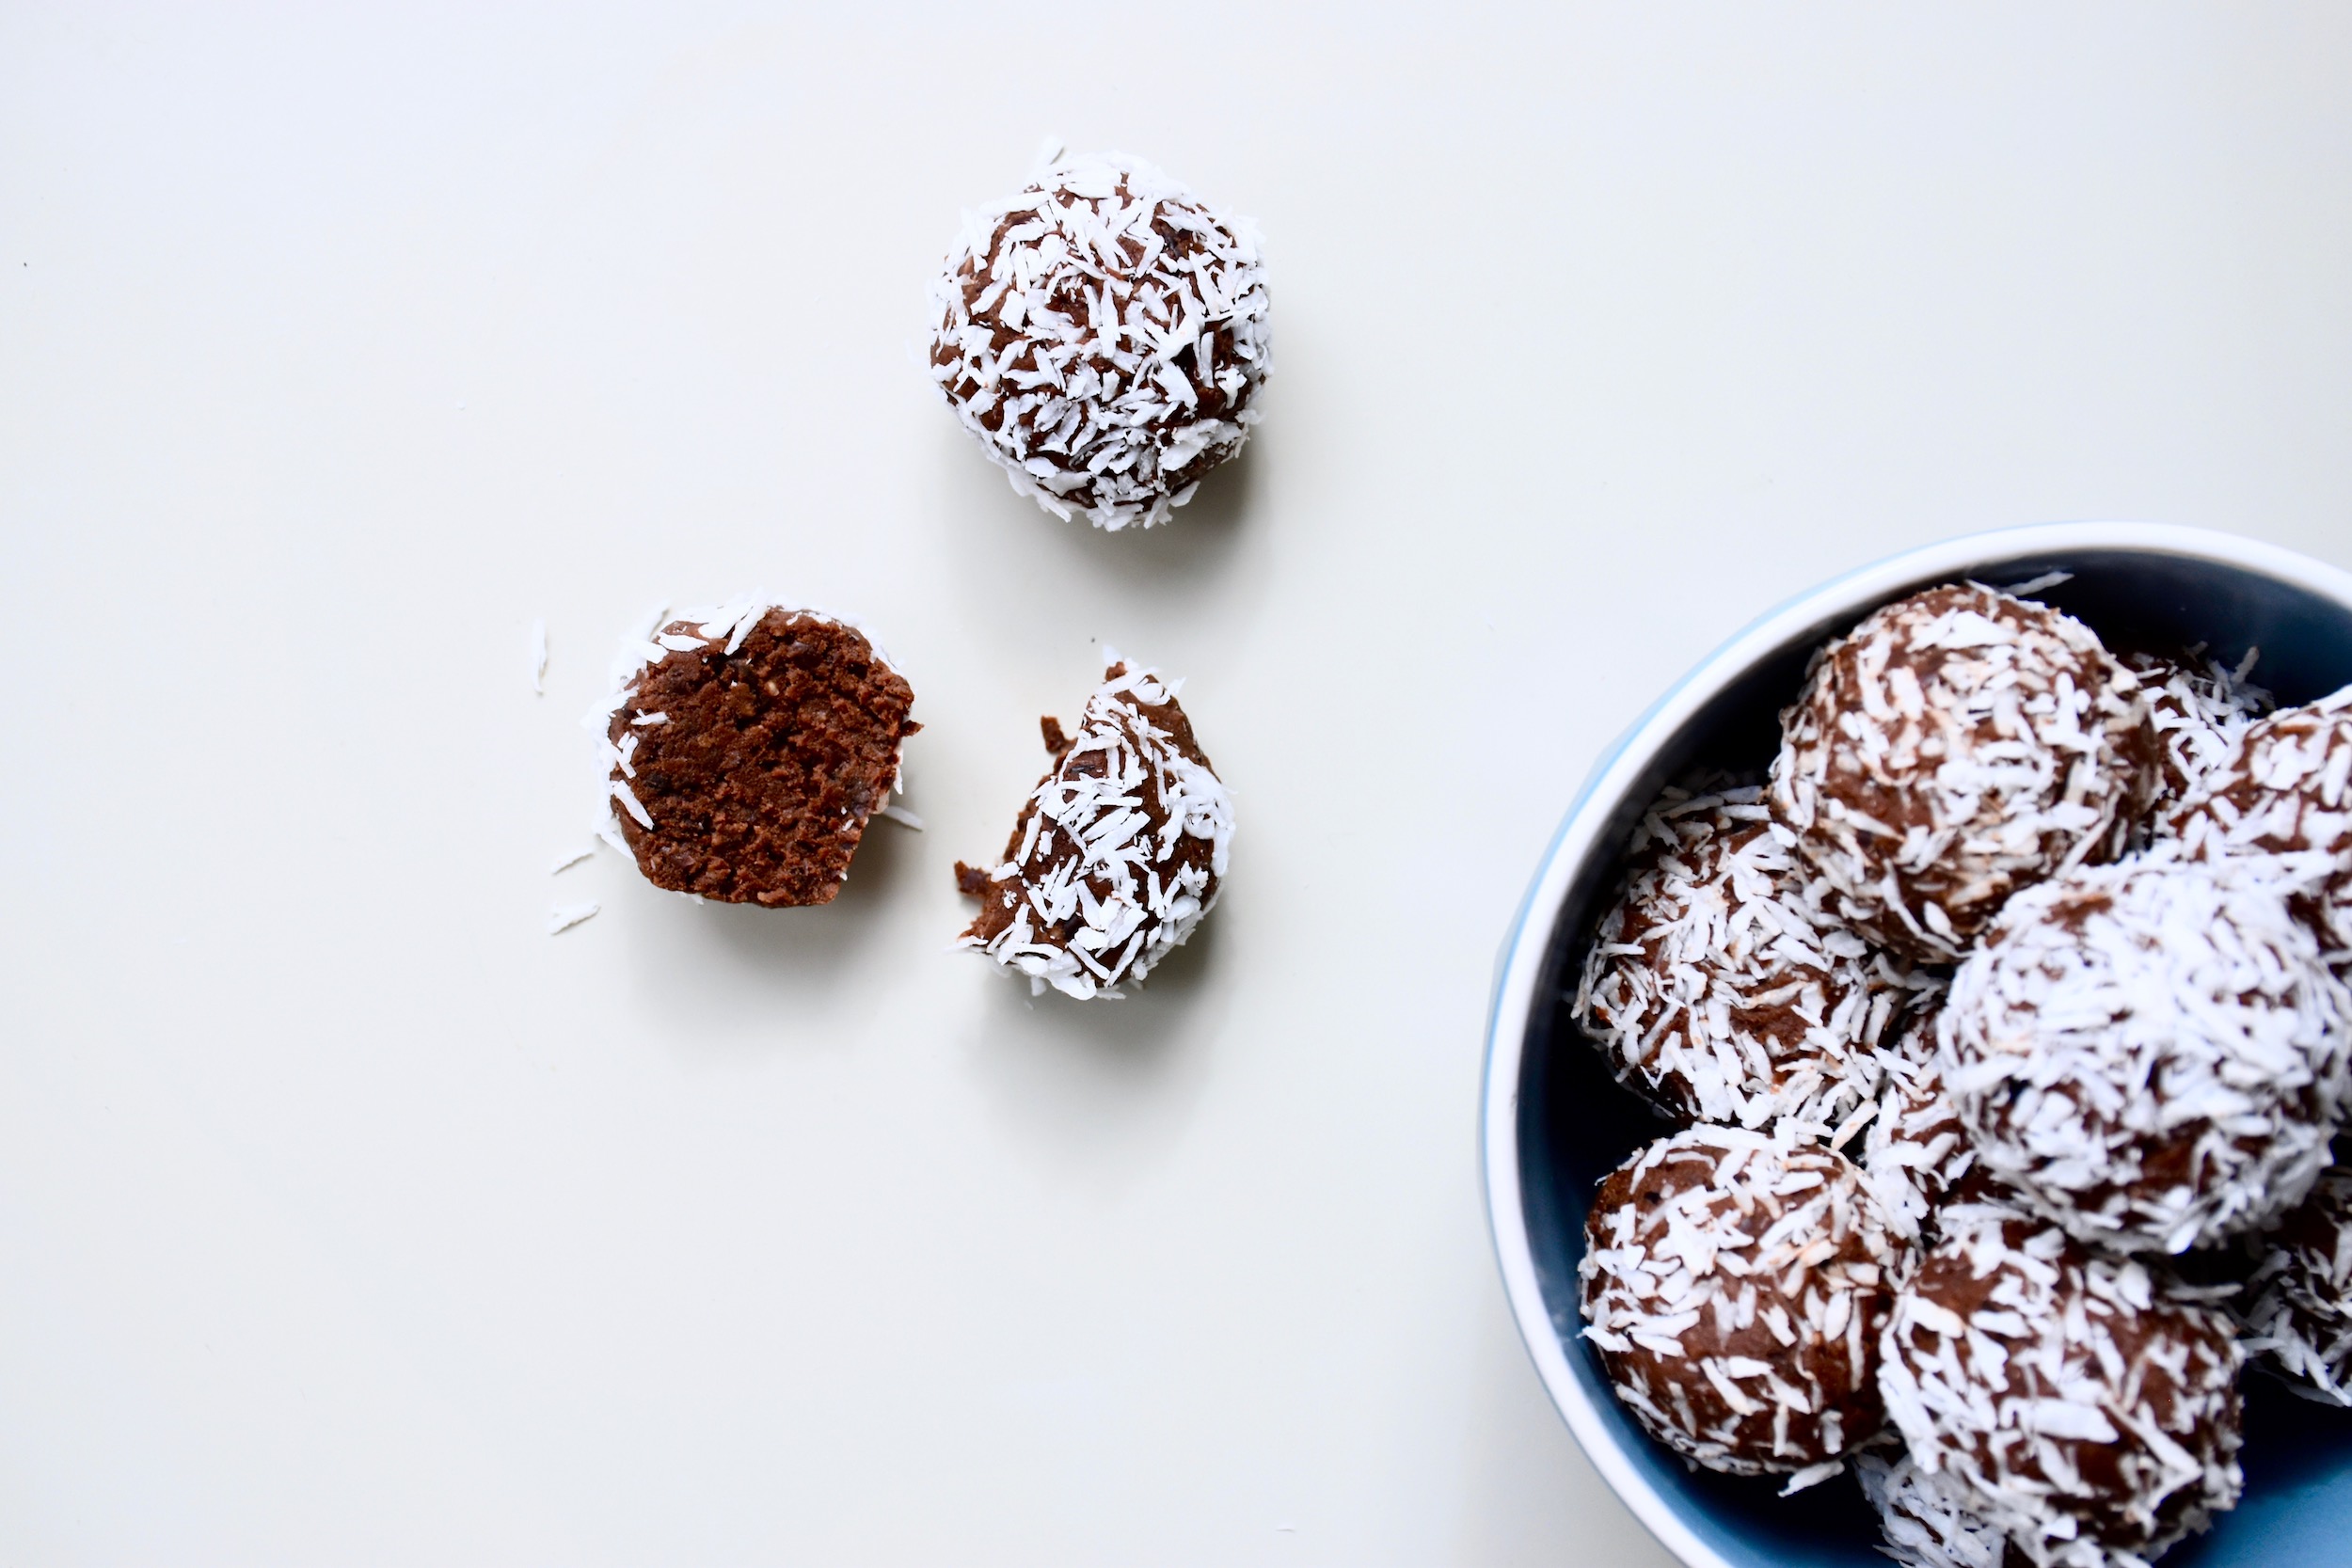
More yummy summer recipes:
Vegan Danish Strawberry Tart – “Jordbærtærte”
This Vegan Danish Strawberry Tart – "Jordbærtærte" is the best summer recipe you will ever have had.
Prep Time50 minutes mins
Cook Time20 minutes mins
Total Time1 hour hr 10 minutes mins
Course: cake, Dessert, Sweet Treat
Cuisine: Danish
Servings: 8 servings
Author: Luna Linnemann
Short Crust Pastry
- 1 flax egg (2 tbsp grounded flax seed flour + 3 tbsp water)
- 155 g whole wheat spelt flour
- 1 tsp backing powder
- 70 g almond butter
- 80 g date purée (see my recipe)
Mazarin layer
- 150 g almond flour
- 30 g whole wheat spelt flour
- 1 tsp baking powder
- 160 g date purée (see my recipe)
- 50 ml plant milk (or water)
- 55 g almond butter
Chocolate layer
- 80 g dark chocolate (I used 100 %)
Vanilla cream layer
- 145 g cashews (1 cup)
- 145 g dates (1 cup)
- 185 g silken tofu
- 1 tsp vanilla powder (not sugar)
- 1 tsp lemon peel
Short crust pastry
Start by making the flax egg in a bowl and set aside.
Meanwhile, mix all the dry ingredients in one bowl and set aside.
Then, add all the wet ingredients to the flax egg and mix until combined.
Lastly, mix the wet and dry ingredients until a firm pastry has formed. Form into a round shape and use a rolling pin to flatten the pastry. Aim for 26 cm / 10.2 inches in diameter. Once done, place the pastry in the tart form and make sure it is pressed into the sloped sides to give it the beautiful shape once done.
Let it rest in the fridge while preparing the mazarin layer.
Mazarin layer*
For the mazarin layer, mix all the wet ingredients in one bowl and dry ingredients in another bowl. Combine both till a thick batter forms.
Add the mazarin batter to the tart form on top of the crust you have just placed. Make sure to spread it out, so it also runs up along the sides, resembling the way the crust is spread out in the form. (This is to create space for the vanilla cream later)
Bake the tart at 175℃/350℉ for 20 minutes (or until golden brown). Keep an eye on the tart around the 15 minute mark, as it can depend on your oven.
Chocolate layer
Once the tart has baked, take it out of the tart form and place it on a baking rack.
Chop the chocolate and add it on top of the warm tart and allow it to melt. Use a spoon/spatula to even it out if needed.
Place the cake in the fridge until chocolate has hardened – about 20-30 minutes.
Vanilla cream*
While the cake cools down, prepare the vanilla cream, by adding all ingredients to a high speed blender and blend until smooth. If the cream has become a bit warm from blending, you can place it in the freezer for 10 minutes or add it to the cake and allow the cake to rest in the fridge for about 15 minutes before decorating it with strawberries.
Strawberry topping
Wash the strawberries and cut them in halfs.
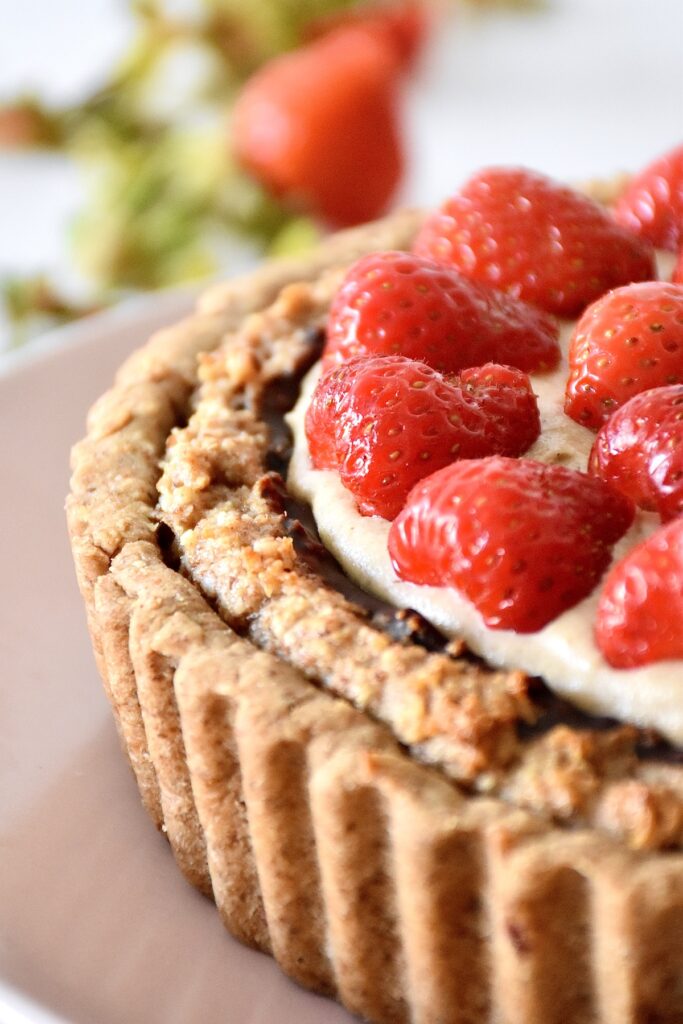
Decorate the cake as you wish and enjoy the hard labour with a well-deserved piece of traditional Danish Strawberry Tart full of wholesome ingredients.
Aim to enjoy the tart the day of making it. The tart is best preserved in the fridge and can be stored here 1-2 days.
DATE PURÉE
For the date purée see my recipe here. I used about 70 % of the total date purée from this recipe.
*FASTER VERSION
If you are short on time the day of serving the cake, there are a few tips for creating it a bit faster.
Instead of soaking and blending cashews, you can substitute it with cashew butter. The same goes for date purée, which now can be bought in many groceries.
The date paste, mazarin layer and vanilla cream can easily be prepared the day before and stored in the fridge.
Once the cake has been baked and chocolate layer added, place the cake in the freezer instead of fridge.
Did you make this recipe? Mention @cuminandyin or tag #cuminandyin